Currently getting your Xhale workouts onto Zwift requires the use of a computer with the Zwift app installed (even if you are completing your workout using a different device).
It looks like a lot of steps, but once set up you are essentially downloading a file into a specific Zwift directory on your computer and then opening up the Zwift app on your computer in order for it to sync the workout to your account.
Here is the procedure:
- Download and install Zwift on your PC or Mac. This is a prerequisite for importing custom workouts.
- Ensure you have set up your FTP in your Xhale settings. This should match that set in Zwift.
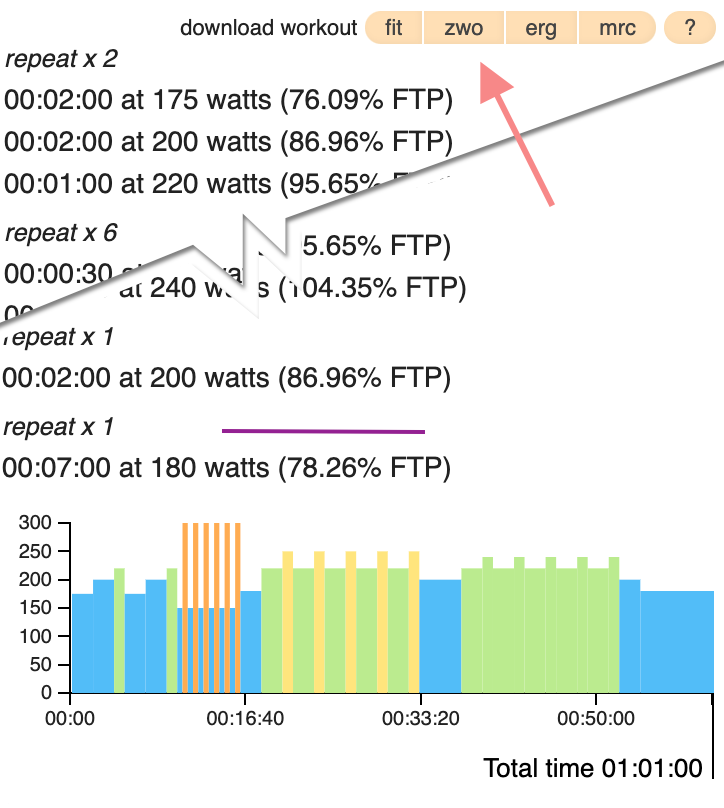
- Export your workout from Xhale as a .zwo file by pressing on the zwo button (see screenshot). If the zwo button is greyed out, hover over the button with your mouse and it should display a clue as to why the option is not available. If you still can’t understand the reason, please contact Xhale support.
- On your computer, navigate to the directory where Zwift stores its workout files. You’ll find them under
Documents/Zwift/Workouts/YourZwiftID. Save the .zwo file into this directory. - (For better management, you can create directories within
Documents/Zwift/Workouts/YourZwiftIDand categorize your workouts accordingly.) - Start the Zwift application on your computer. Your imported workout should now appear under the “Custom Workouts” category within the app.
- Now that you have loaded your workout onto your Zwift account via the Zwift software on your computer, it should automatically sync to any other Zwift app on your other devices.
For official instructions from Zwift, visit Zwift’s guide on importing and sharing custom workouts.